
 Switching my household to natural products is a list of never-ending to-do’s. It’s sometimes quite the adventure in DIY recipe making.
Now that it’s cold and flu season, I’m suddenly making homemade vapor rub!
But it’s not so bad. This recipe is actually fun, and EASY! I’m really enjoying it.
I love knowing that the minty freshness I’m smelling in my chest rub comes from actual Peppermint and Eucalyptus essential oils. And not from some artificial scent.
So today, I wilil teach you how to make your own cough chest rub without too much fuss.
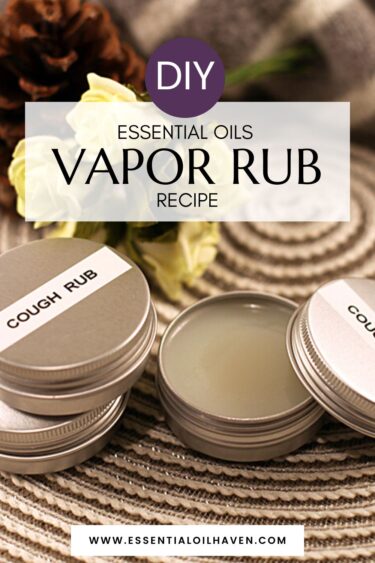
Homemade Vapor Rub Recipe
Nothing beats being able to whip up a batch of this DIY vapor rub on the fly.
What if you can’t make it to the store right now to buy the brand name product? What if you don’t waat to?
Essential oils are a wonderful natural alternative that you can use for a home remedy.

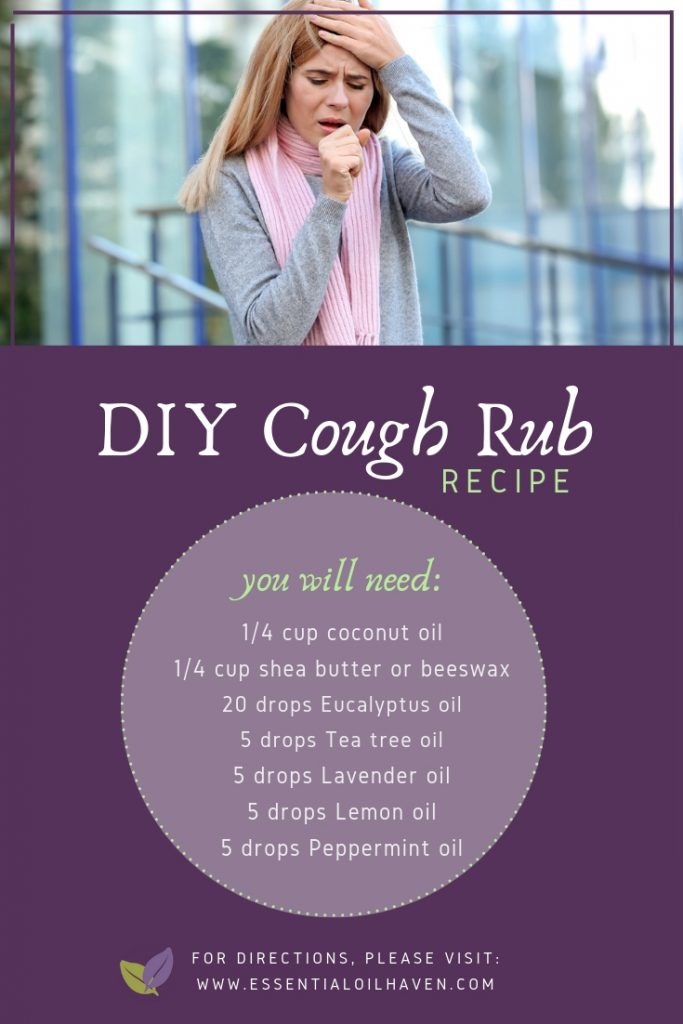
Ingredients
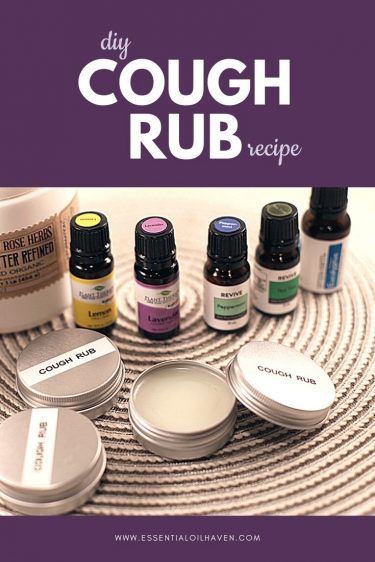 The ingredients you need to make this cough rub are:
- 1/4 cup coconut oil (solid)
- 1/4 cup shea butter
- 20 drops Eucalyptus essential oil (Eucalyptus globulus)
- 5 drops Tea tree essential oil (Melaleuca alternifolia)
- 6 drops Lavender essential oil (Lavandula angustifolia)
- 4 drops Lemon essential oil (Citrus x limon)
- 5 drops Peppermint essential oil (Mentha piperita)
Here are the ingredients I used in my natural vapor rub recipe.
Directions
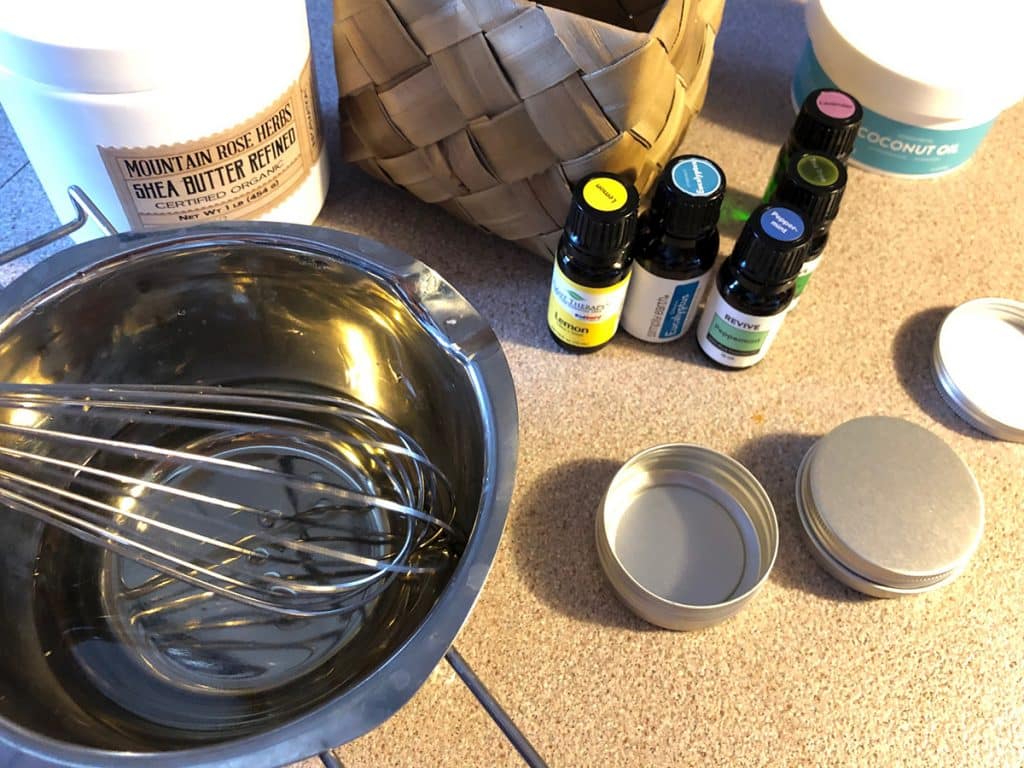
- Dissolve the shea butter and coconut oil using a double boiler.
- Stir them for half a minute with a stainless steel whisk.
- Gather the mixture together using a spatula.
- Add all the essential oils.
- Whip the entire mixture again for about sixty seconds.
- Get a container with cover, and scoop the mixture into it.
- Store in a dark and cool place.
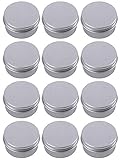
Yield: 3 oz. My recipe and ingredients list will fill 3 of these 1 oz aluminum tubs.
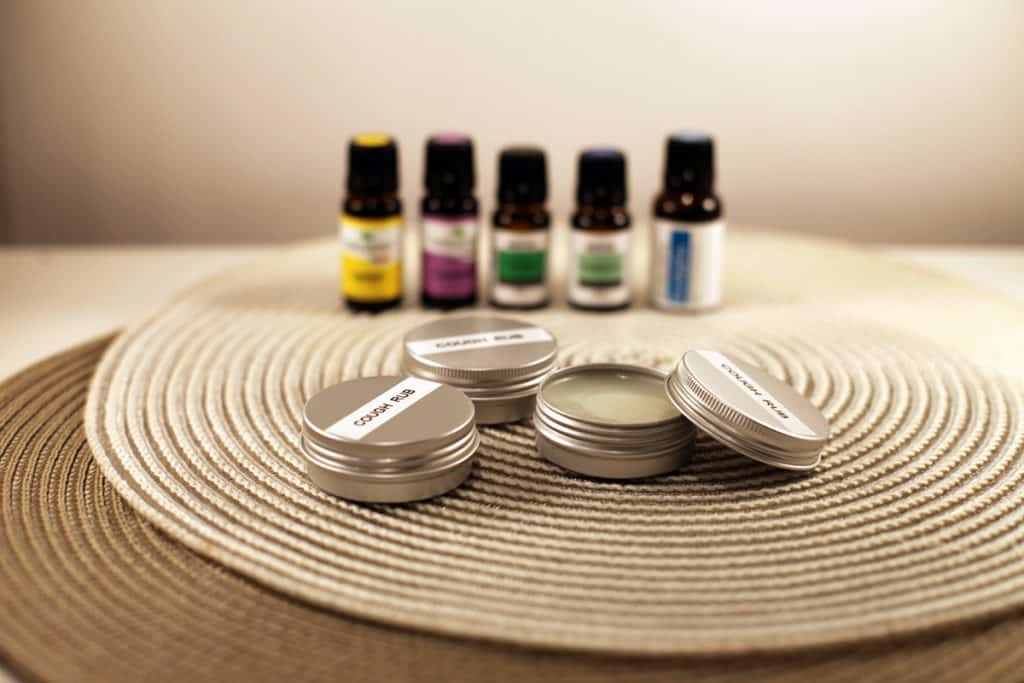
Recipe yields 3 x 1 oz tin
Now your homemade vapor rub is ready for use! Massage it into your chest and back. Apply frequently. Use about a three hours interval between applications, until you feel a relief from your cough.
IMPORTANT: This recipe is NOT safe for children. Some of the essential oils in it are not recommended for young children. Peppermint isn’t recommended until age 6, and Eucalyptus not until age 10. Please DO NOT make this recipe and apply the rub on your kids. For a natural solution for kids, check out the “baby” version of this herbal chest rub at Mountain Rose Herbs.
Tips for Easy Recipe Making
You can make a simple double boiler on your stove. Place some water into a small pan. Get a slightly bigger bowl. Stainless steel is best, but glass also works. Melt your ingredients in here, using the steam from the boiling water underneath.
One of the best accessories I’ve ever bought for myself is this simple little double-boiler from Amazon. It’s less than $15 and has been used over and over and over again during my DIY recipe adventures. It’s easy to place onto a pot, and the pouring spouts on both sides have saved so much spillage already.
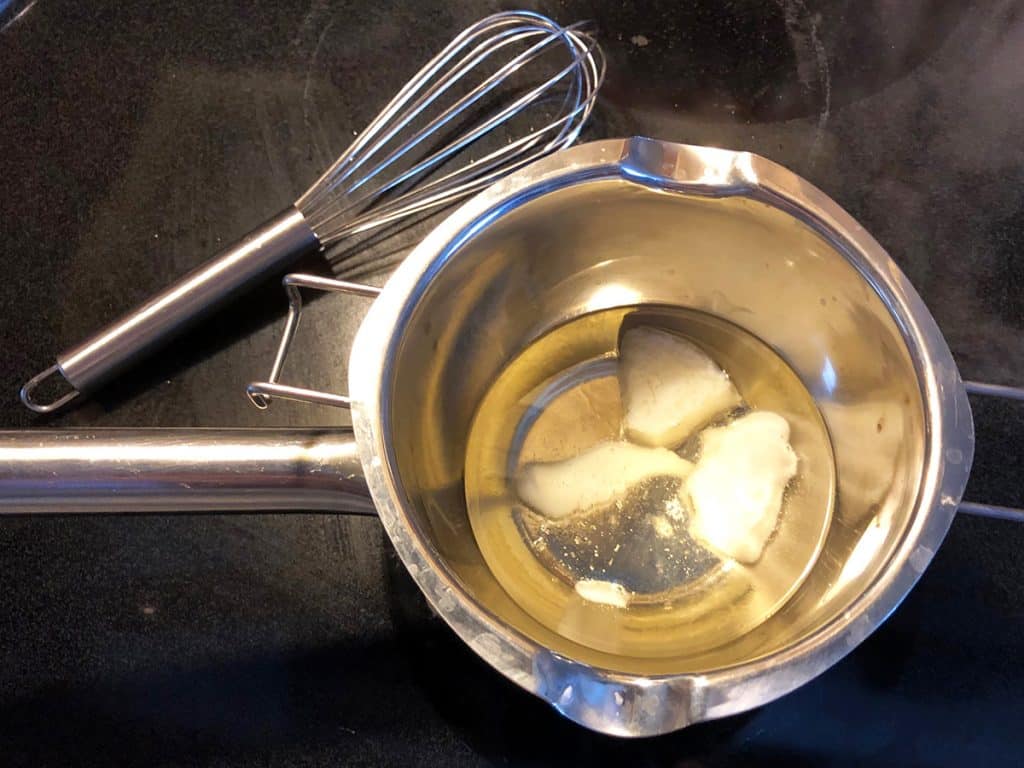
Melting solids in a double boiler on your stove.

Make Your Labels
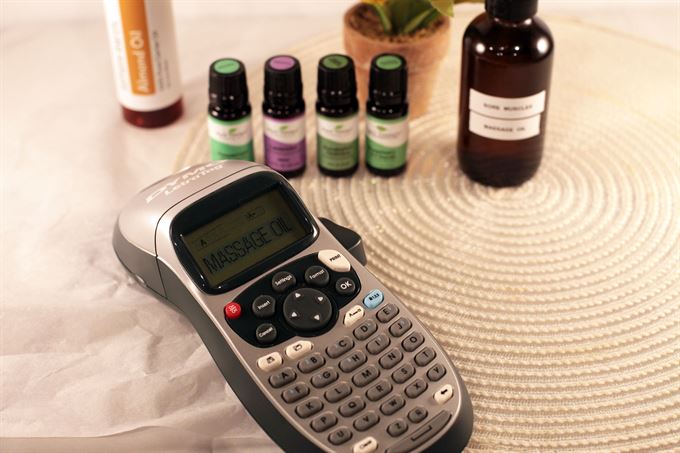
I use a label maker to easily label my DIY recipes.
Get the Label Maker HERE
The next most important step will be labeling of your creations. Especially when working in batches (like this recipe), when your yield is 3 tins, it’s easy to forget what they are in about 3 month’s time. I use this simple handheld label maker and immediately put names on my homemade natural vapor rub tins.

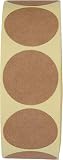
Alternately, I’d recommend a roll of 1″ natural brown kraft stickers, which you can simply hand write on. It’s about $8 for 1,000 stickers, and you can use them for many of your DIY recipe creations.
Substitutions
Sometimes, you want to make a DIY recipe but you simply don’t have time to shop before you need your product. That’s okay. There are a few things you can do:
- If you don’t have shea butter, you can use beeswax.
- If you are missing one (or more) of the essential oils, omit the drops and make them up with the oils you do have. Try not to cut out Eucalyptus, Tea Tree or Peppermint though. I would consider those to be quite important to the recipe. Of course, the effects will be best if you use all of the oils listed. If you want to experiment with adding extra oils, start with some off this list of 10 best oils for cough & chest congestion.
Final Thoughts
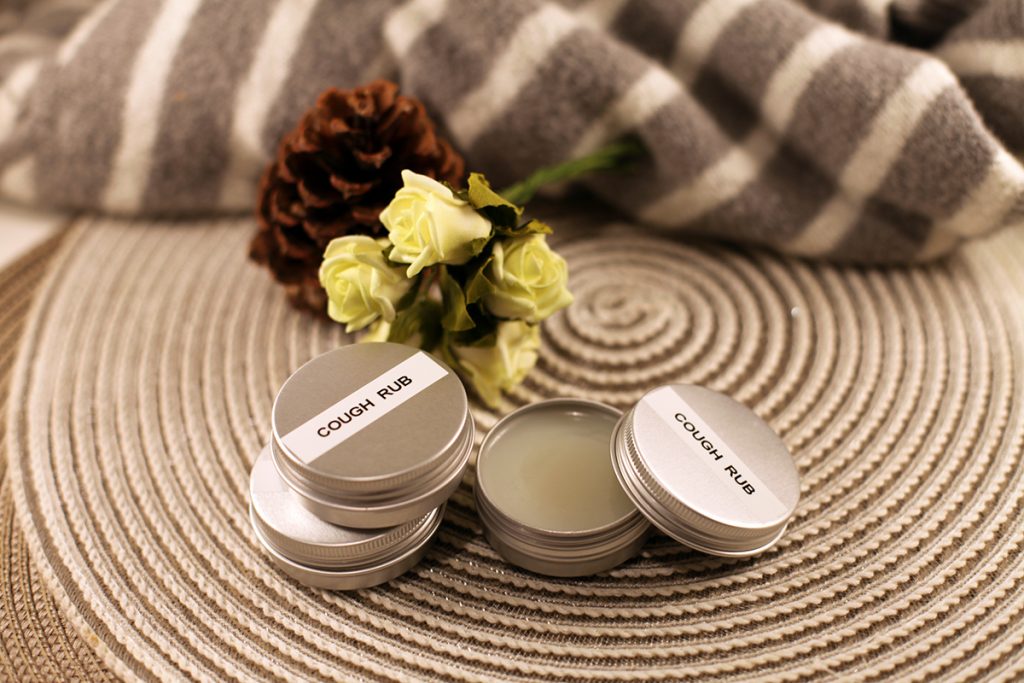
Cute tins of homemade vapor rub for chest congestion or cough.
Making your own essential oil recipes is easier than you think. In my experience, the tins, containers and storage bottles are the most cumbersome part to sort out. That’s why I’ve created this handy collection of my favorite DIY recipe items, accessories, supplies and storage ware for you. I hope it’ll be useful to you!
If you’ve loved this vapor rub recipe, and want to get more coaching on essential oil recipe making, check out my 21 Day Challenge! You’ll be creating a recipe a day, slowly taking you from DIY beginner to seasoned essential oil recipe crafter.
What do you think? Have you tried this homemade vapor rub recipe? Do you like it? Let us know in the comments below.
For more free recipes, please visit the DIY recipes section on the blog.
Sallie Galloway
Where did you get your labels?
Emma Carter
Hi Sallie, I made them with this DYMO label maker that I got off Amazon.